Once you 5.1 Create your blog post in KNIT, the next step is to attach an image of the interviewee as a featured image, if the interviewee has provided one and is okay having an image posted on the Race & Oral History website with the interview.
Select the gear icon in the upper right hand corner. This allows you to access the Settings menu. Here you will make sure to click on the “Post” tab. Scroll down and select the “Featured Image” tab.
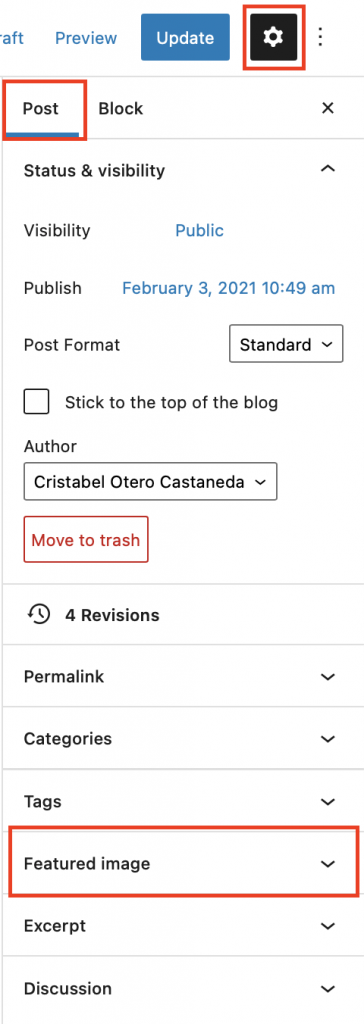
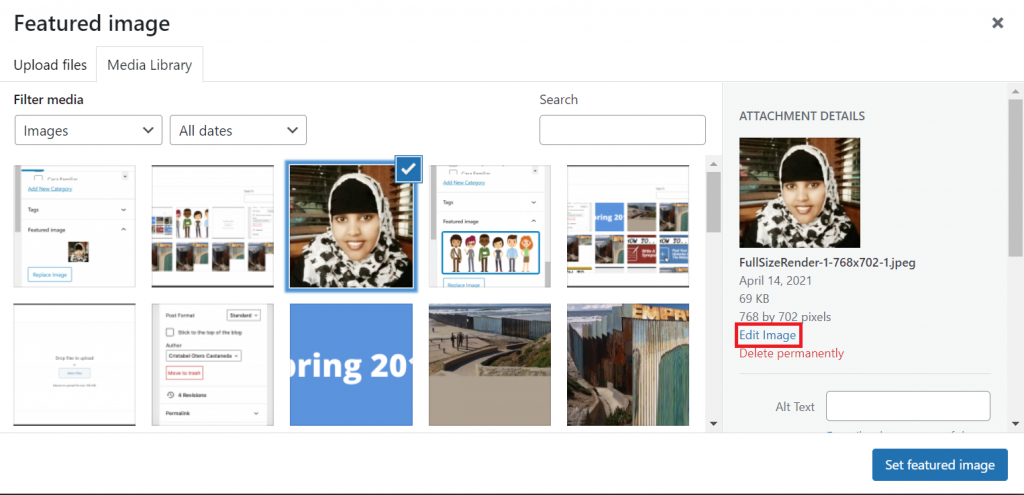
Then select “set featured image” and you will see a pop up as shown below.
Select the “Upload files” button. Be sure to upload an image that your interviewee has given permission to use.
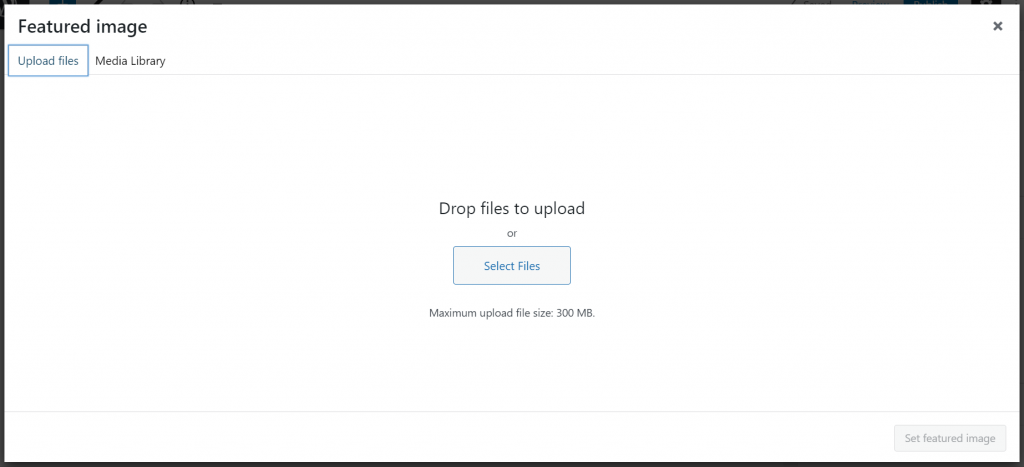
Once you have uploaded the image, select “Set featured image” to ensure that it is set on your post.
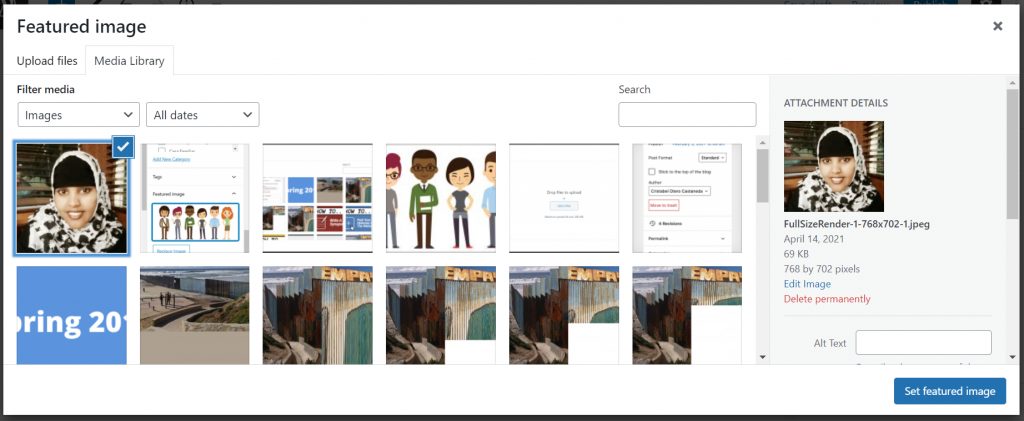
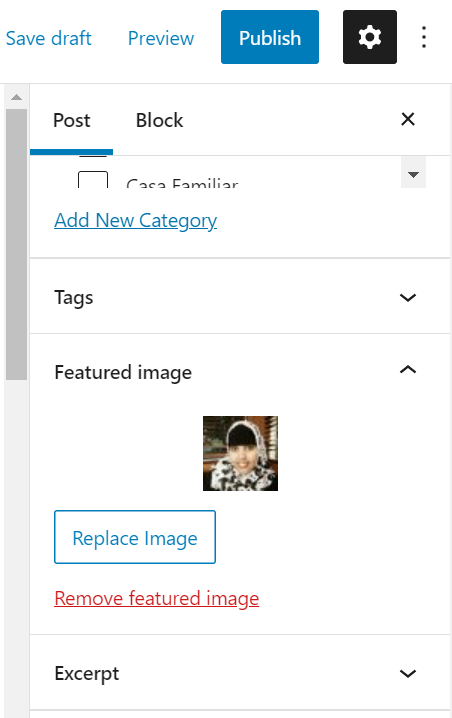
Once the image is set as your featured image, you should see the image on the sidebar and it should look like the image below:

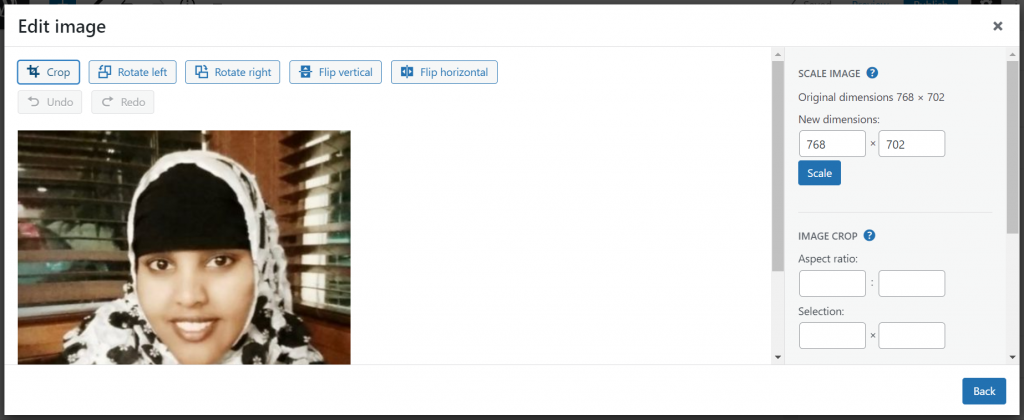
Make any adjustments necessary by clicking on the image you uploaded and selecting “edit.”
You should see an option to edit the image using the crop tool, rotate, or flip option to change the size of your interviewee’s photo. Remember to click “Save” to ensure the changes are made.
After you have successfully uploaded your image, the featured image section should show the image you selected.
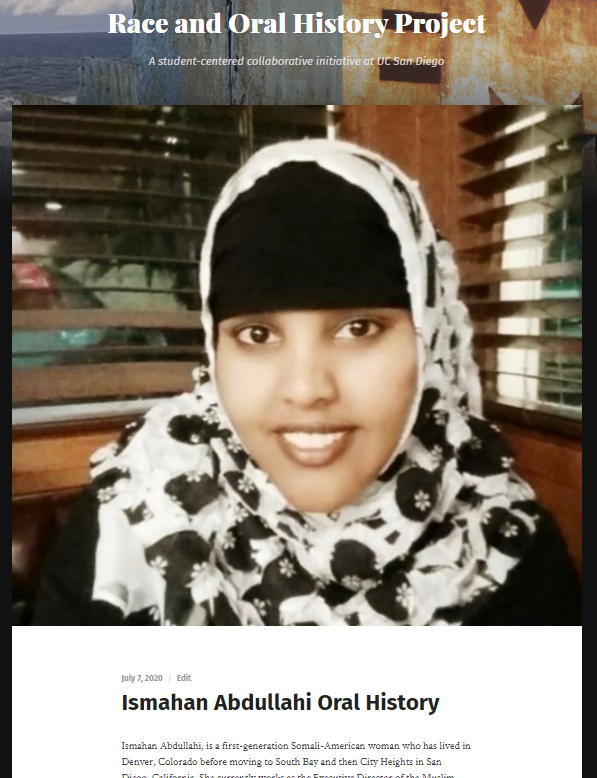
After making all changes, your post should look like this:
Next you will need to add category tags for the post:
On the top right corner, click on the gear icon to access the Settings menu.

Make sure the author name is your name (first name and last name). Scroll down to Categories to see a list of checkboxes.
PLEASE NOTE: ONLY CHECK ONE BOX FOR EACH CATEGORY. Make sure you have checked the academic year, organization name, course assignment name, and the themes of your oral history assignment.
- For Academic Year, check the box that corresponds to your current academic term.
- For Community Partners, check the box that corresponds to your organization name.
- For Course Assignments, check the “Oral Histories” box ONLY.
- Lastly, for Themes, check the corresponding themes that align with your oral history interview topics.
Categories are important because they are used in the top navigation of the site, make connections or group oral histories, and help in searching and discoverability.
After you are finished checking the categories for your post, set the visibility to “Private” so that it can be reviewed before being made available publicly.
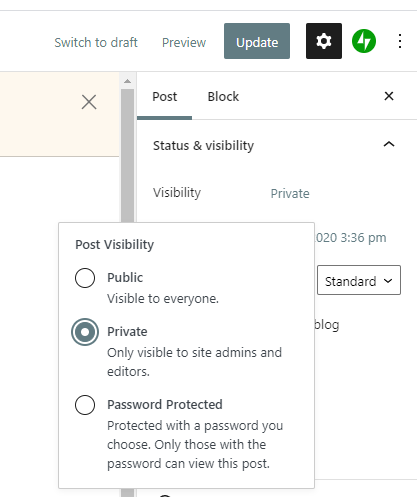
Make sure you look over and review your post again before clicking on the “Publish” or “Update” button on the top right corner. Note that you can make further changes even after publishing your oral history post.
Congrats! You’re almost finished. Move on to 5.3 Check your blog post.