To locate your oral history post after publishing, go back to the homepage of the ROHP site. On the top menu, click on the organization name of your interviewee.

From the organization page, you should see the title of your oral history post along with the date your post was published.

Click on the title link of your oral history post to verify that your post was successfully published on the site. You should see something similar to the example given below:

Make sure your oral history post is in this order:
- Oral history description (synopsis)
- Audio file
- Oral history transcript
Scroll down to the bottom of the audio file to see the Author Info and the Post Info at the bottom.
The Post Info has the list of categories that you selected in the bottom, and your full name at the top.

You can also click on the Author Info tab to see your information.

Corrections to your blog post
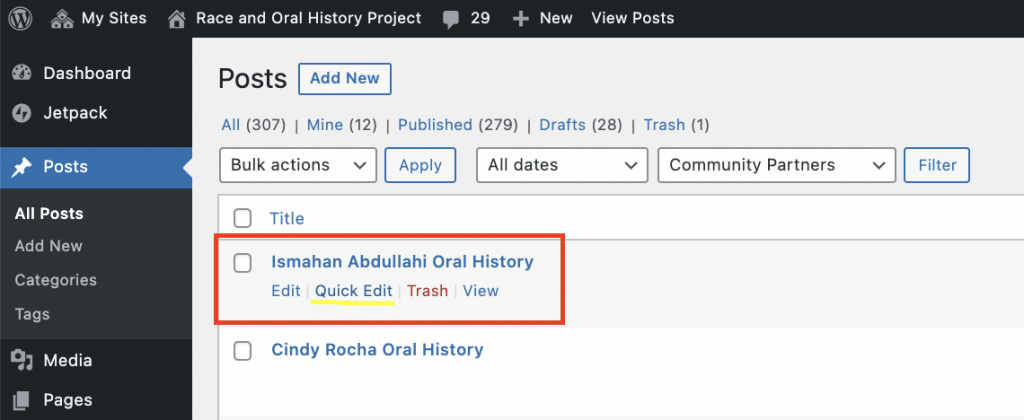
If something is not appearing correctly, login to the KNIT site and check your post. Hover your cursor over “Race and Oral History Project” on the top of the page. Select “Dashboard” in the options.
Click on the thumbtack icon and select “All Posts”.
To make changes to the category tags or title, find your post and click “Quick Edit.” Refer to 5.2 Add the featured image and category tags to your post.
The TAs, faculty or librarians will review your post before it becomes publicly available.
Now you can move on to the final step: 5.4 Submit the files to your TA.